More 3D Printing
Last summer I wrote about 3D printing a replacement gear for a mechanical device in my office at Fivium. This topic came up recently while talking to one of the directors during the company’s 10th birthday party and I mentioned how it was a fairly simple thing to do, fun and how much I’d like to do it more yet the cost of paying a third party to print is a high barrier for personal projects.
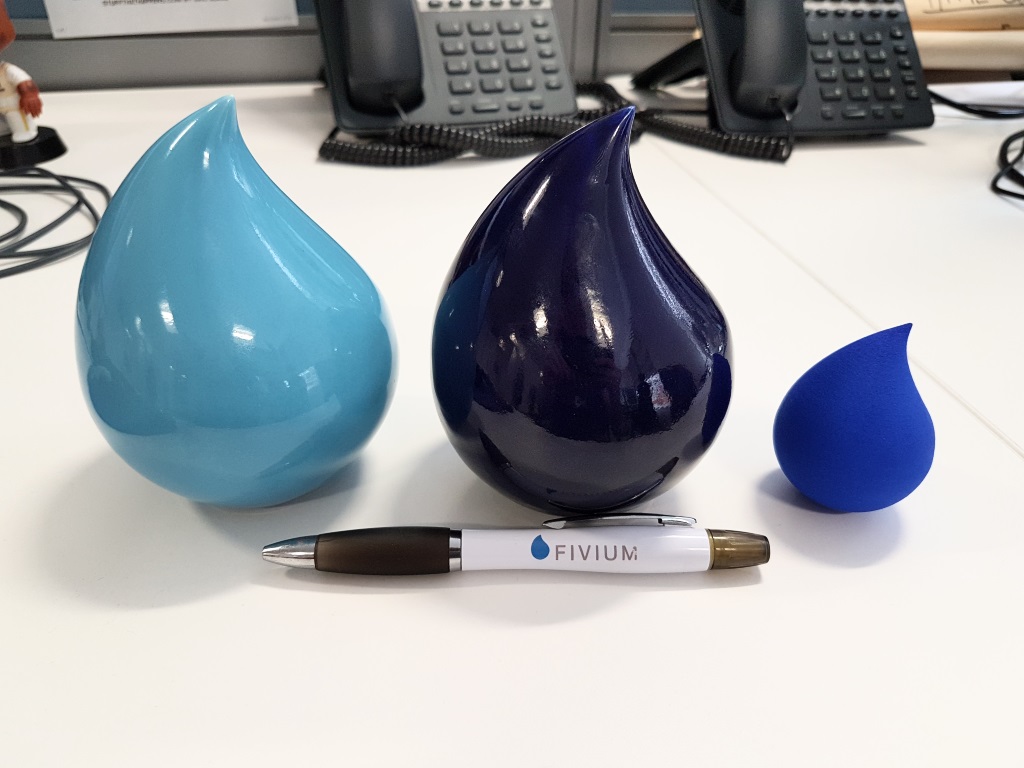
Thankfully for me they were interested in having the company logo, a water droplet, printed in 3D when I mentioned that I had attempted to model it during the time I created the gear.
The gear I had created before using PTC Creo Elements/Direct Modeling Express which was fine for the more calculated gear, but not something I knew how to use well enough for a more freeform design. In my teenage years I had played with a tool called Blender which is a fantastic free and open source 3D creation suite and I thought it might fit my needs.
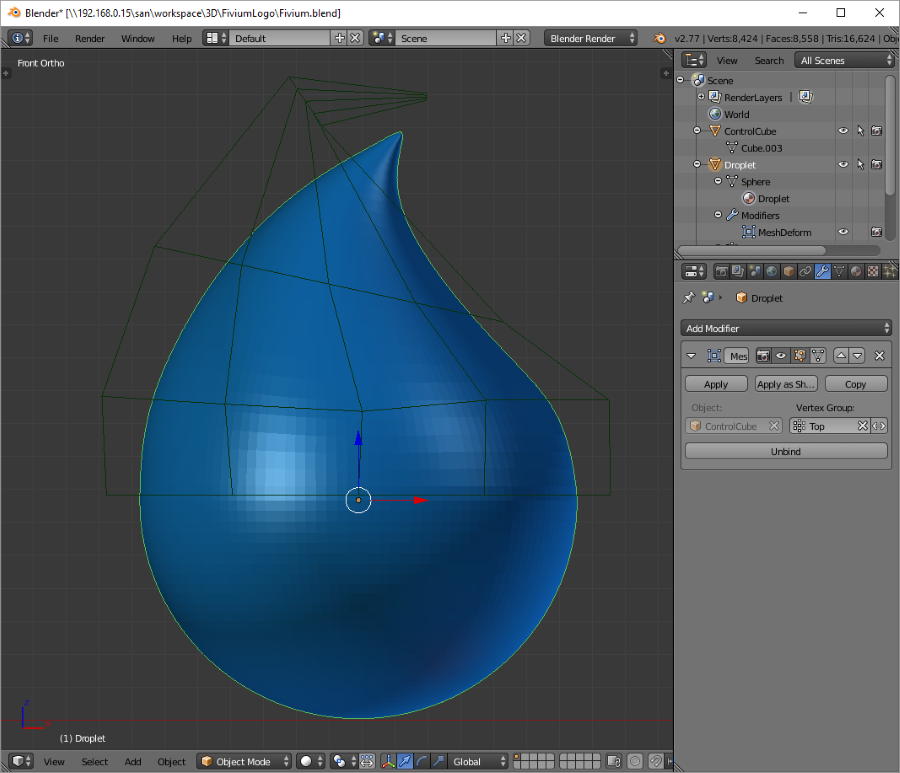
The droplet shape was created by taking a regular sphere, splitting the top and bottom vertices into groups and applying a mesh deform modifier to the top group. The control mesh was a subdivded cube which let me stretch, rotate and scale to create the shape. I put the logo image in the background of the view in Blender and modified the cube vertices from a side-view until the sphere looked about right. After that a quick pan around showed it actually looked pretty good from all angles. To print it I did modify it a bit more, placing a cube at the base and using a boolean subtract to cut the bottom off so that it could stand on its own.
Printing was done by Shapeways again, this time two in Porcelain and one smaller in plastic. The porcelain prints had a few minor issues with slipped glazing but Shapeways emailed me to check if the result was good enough and thankfully for our use (sitting on a table in the meeting rooms in the office) they were fine as can be seen in the image at the top of this post.
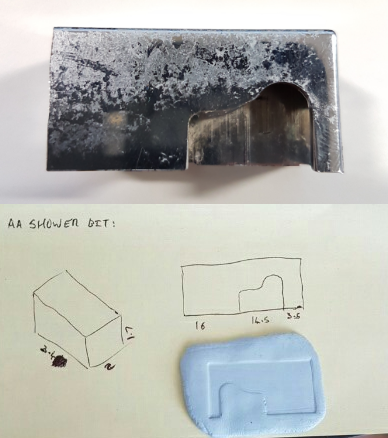
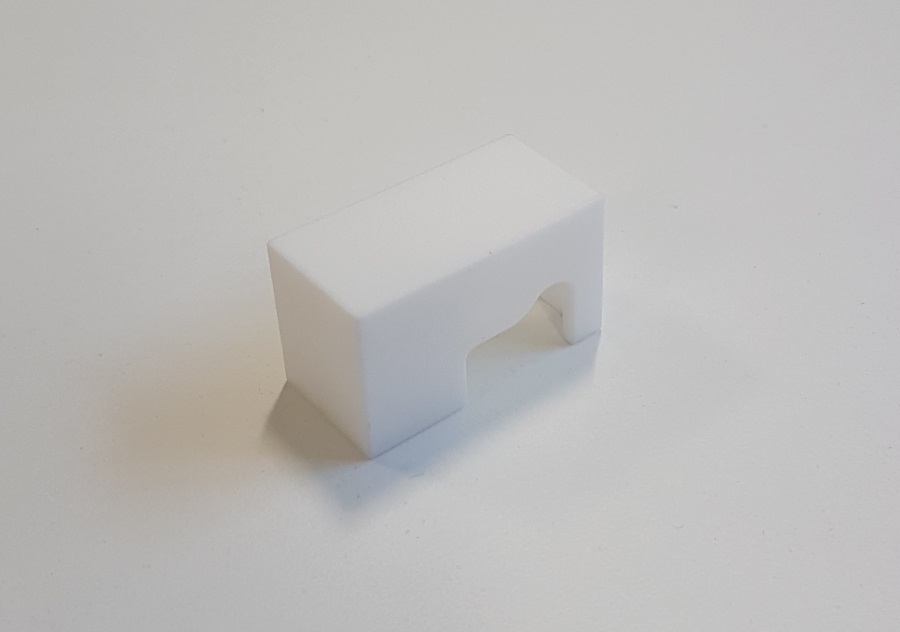
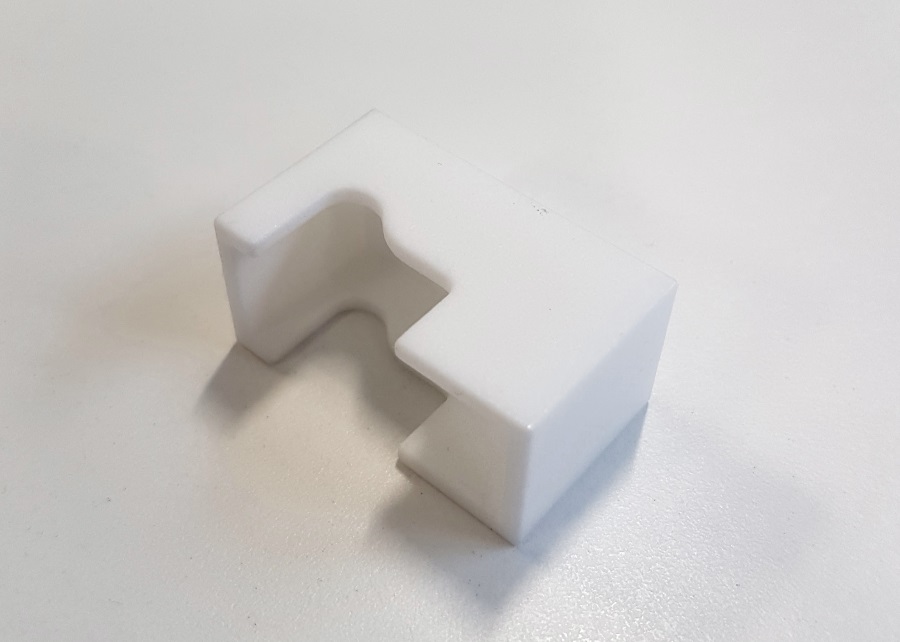
With the success of the droplets someone else in the office came to me with a small chromed-plastic block they had tried to modify during their bathroom remodel. They asked me if I could create a model for it which could be adjusted for their needs and I thought I’d give it a shot and took some initial measurements on a post-it note using a regular ruler and imprint in blu-tac so the original block could be returned.
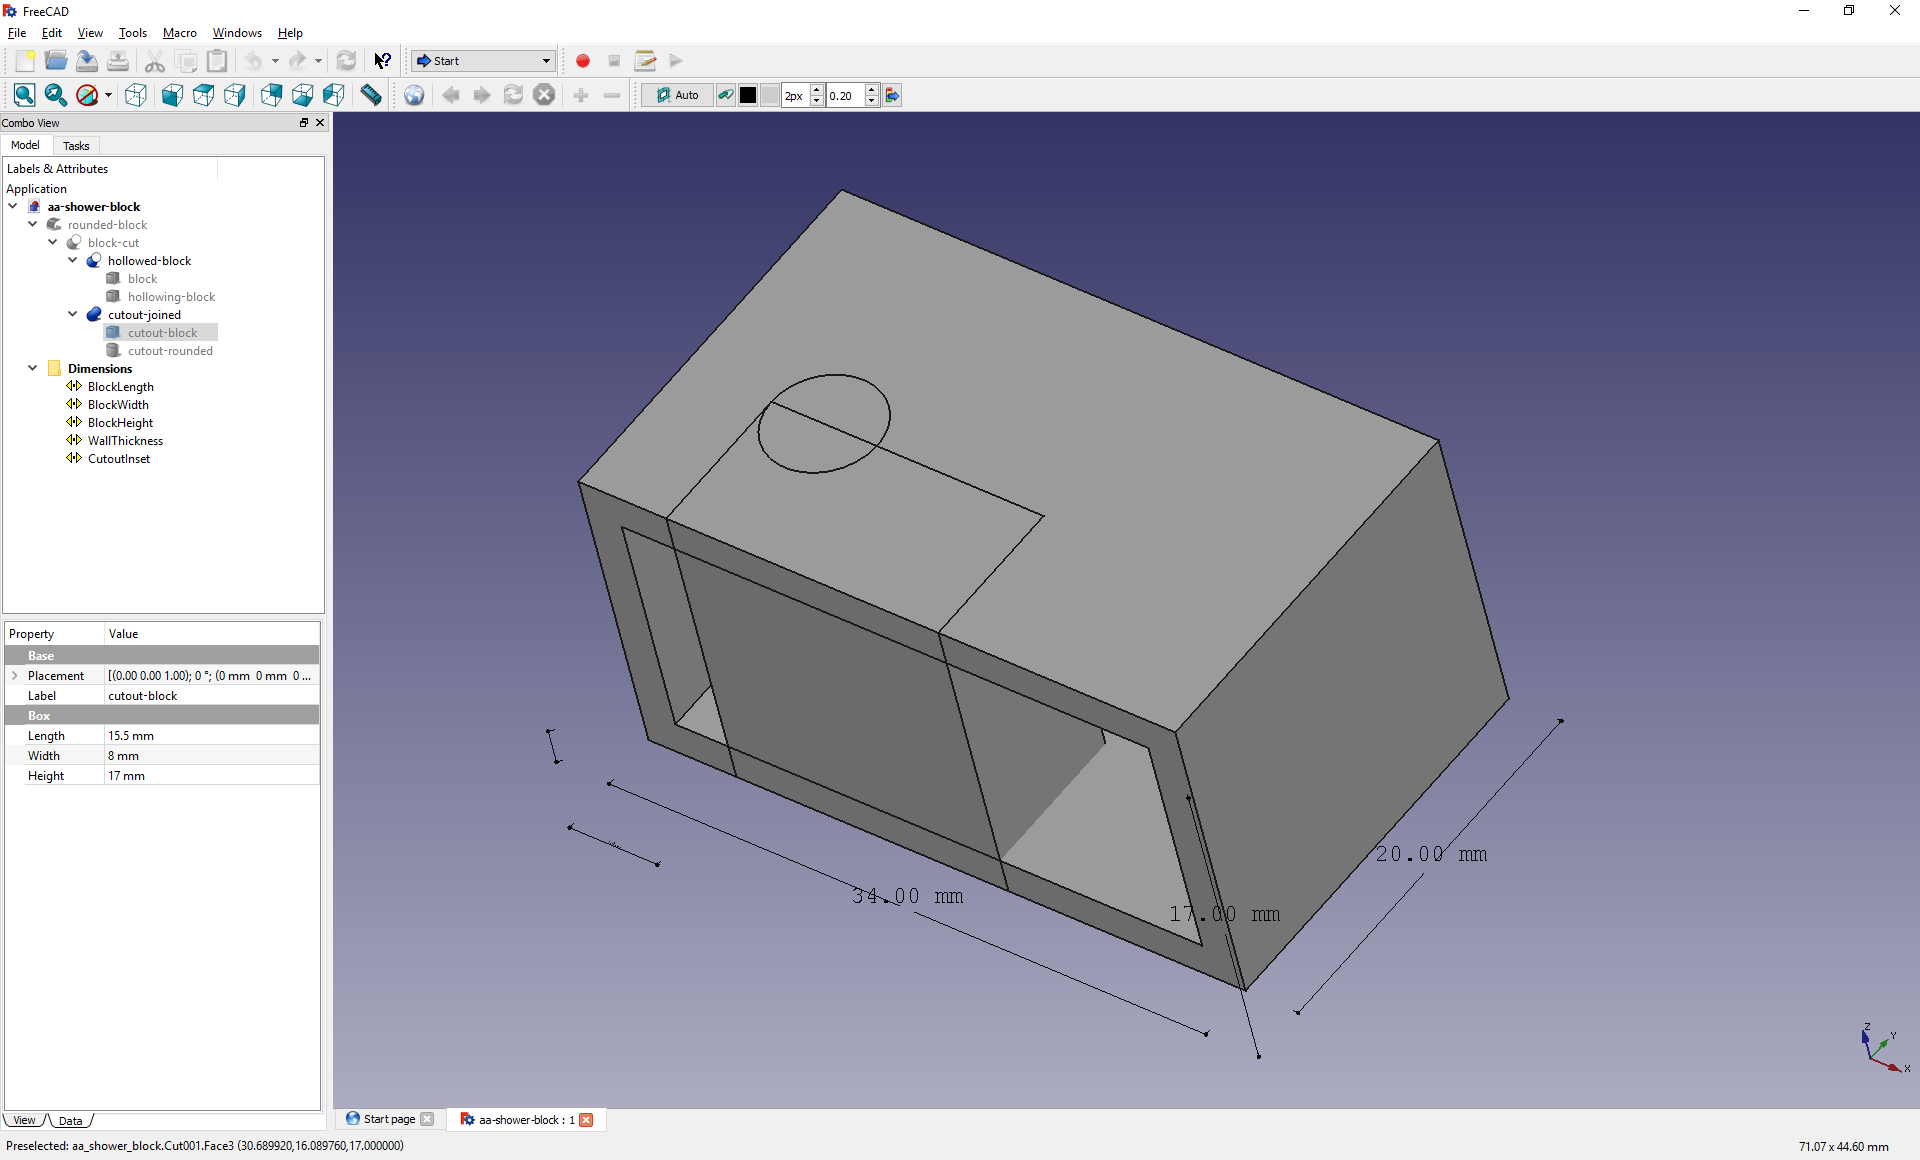
Instead of using Blender or PTC Creo again I thought I’d check out FreeCAD which describes itself as a free and open source parametric 3D modeller, which is exactly what I’d need if I wanted to make the model adjustable later without spending lots of time re-working.
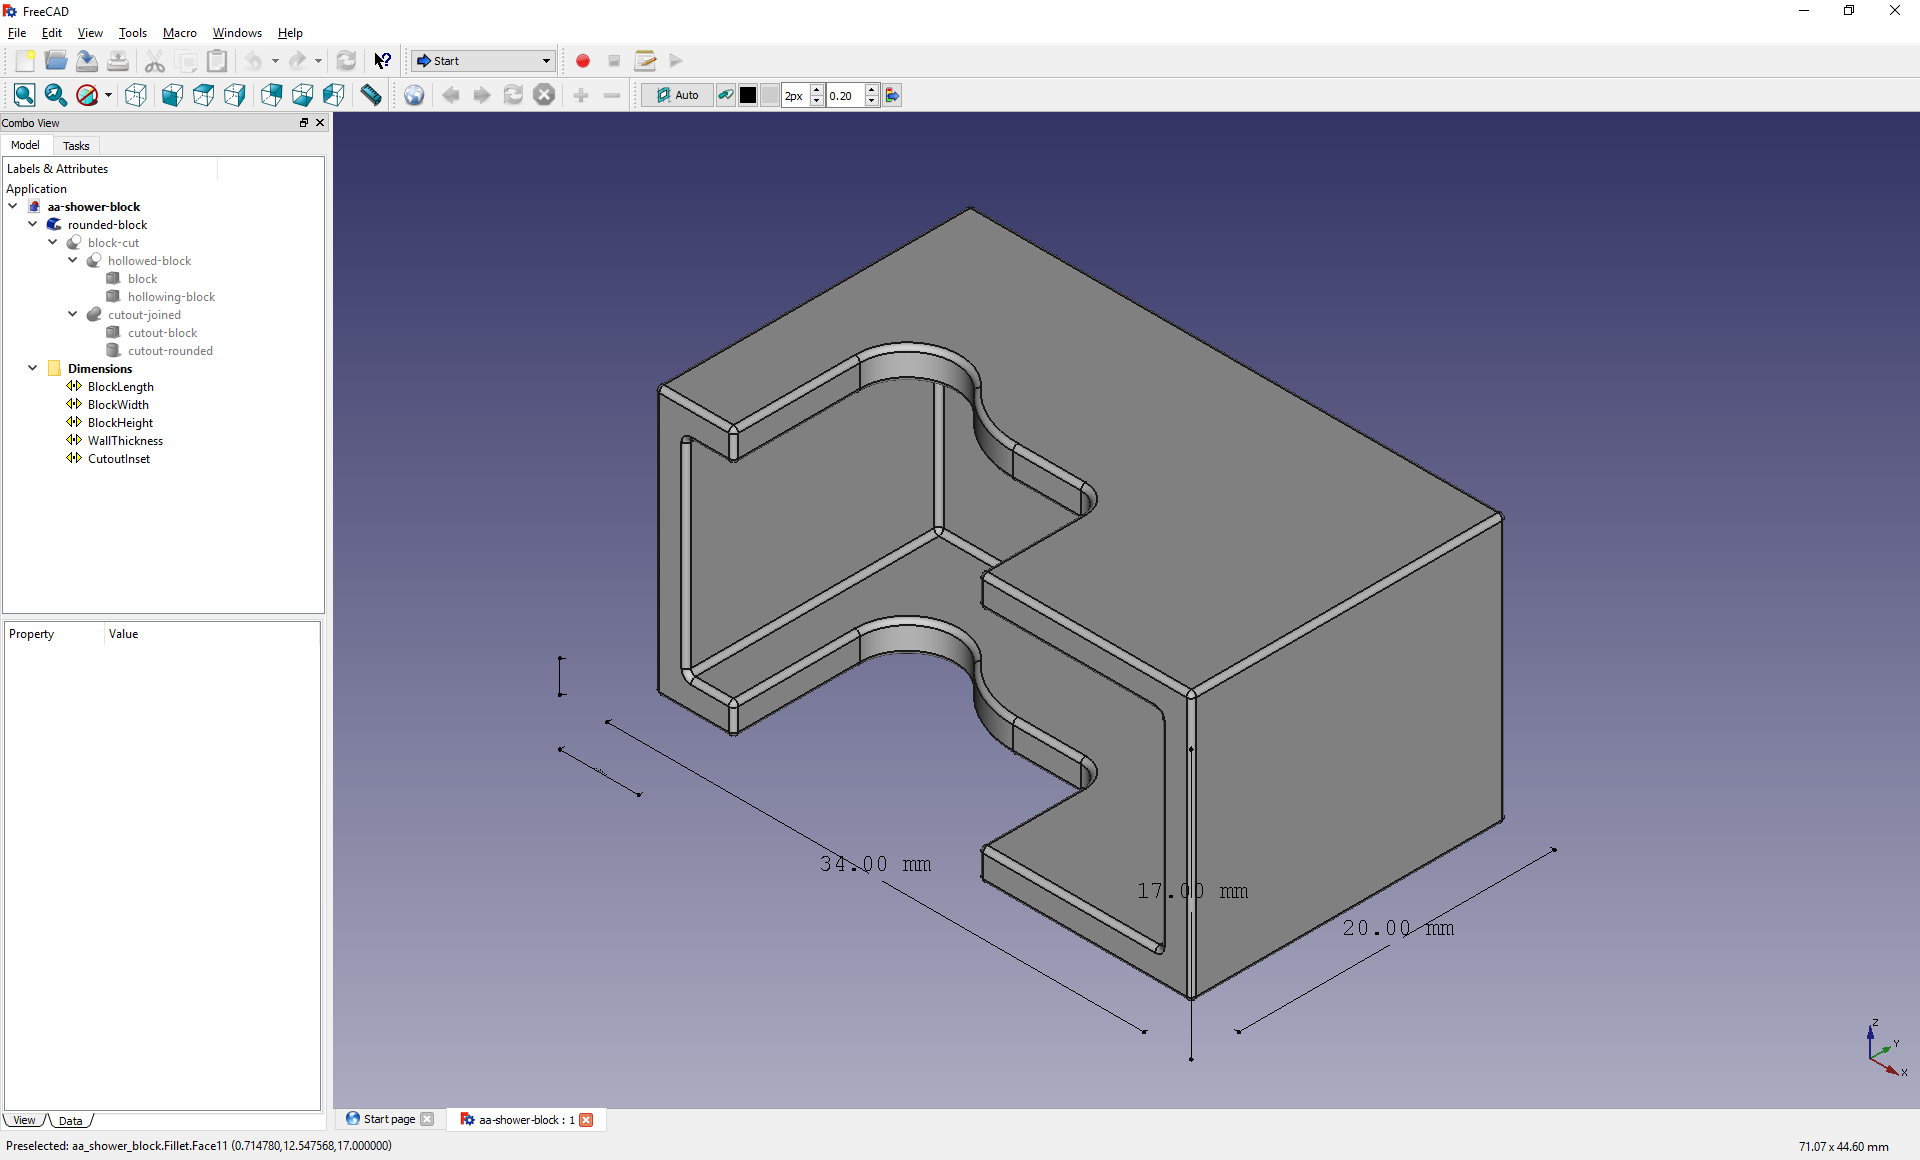
Using some primitive cubes and cylinders I blocked out the item, using the parametric tools to combine the objects and create the whole item. Using the bevel modifier was very nice for fast iteration to get the correct through-block curve as it’s very easy to change the values of beveling at any time.
I also added some dynamic positions of the components the item was made of which I based off dimensions that could be adjusted later which made things very easy to change with the person who wanted the item before sending it for printing.

Once uploaded to Shapeways everything came back good using their automated checking tools for the white plastic material we decided to use for printing. The finished item when it arrived was pretty much perfect and I believe it now sits in someone’s bathroom terminating a glass divider and is currently awaiting a few coats of primer and chrome paint.